Garage Door Sensor Lights Explained: Yellow, Green and Blinking
The Short Answer
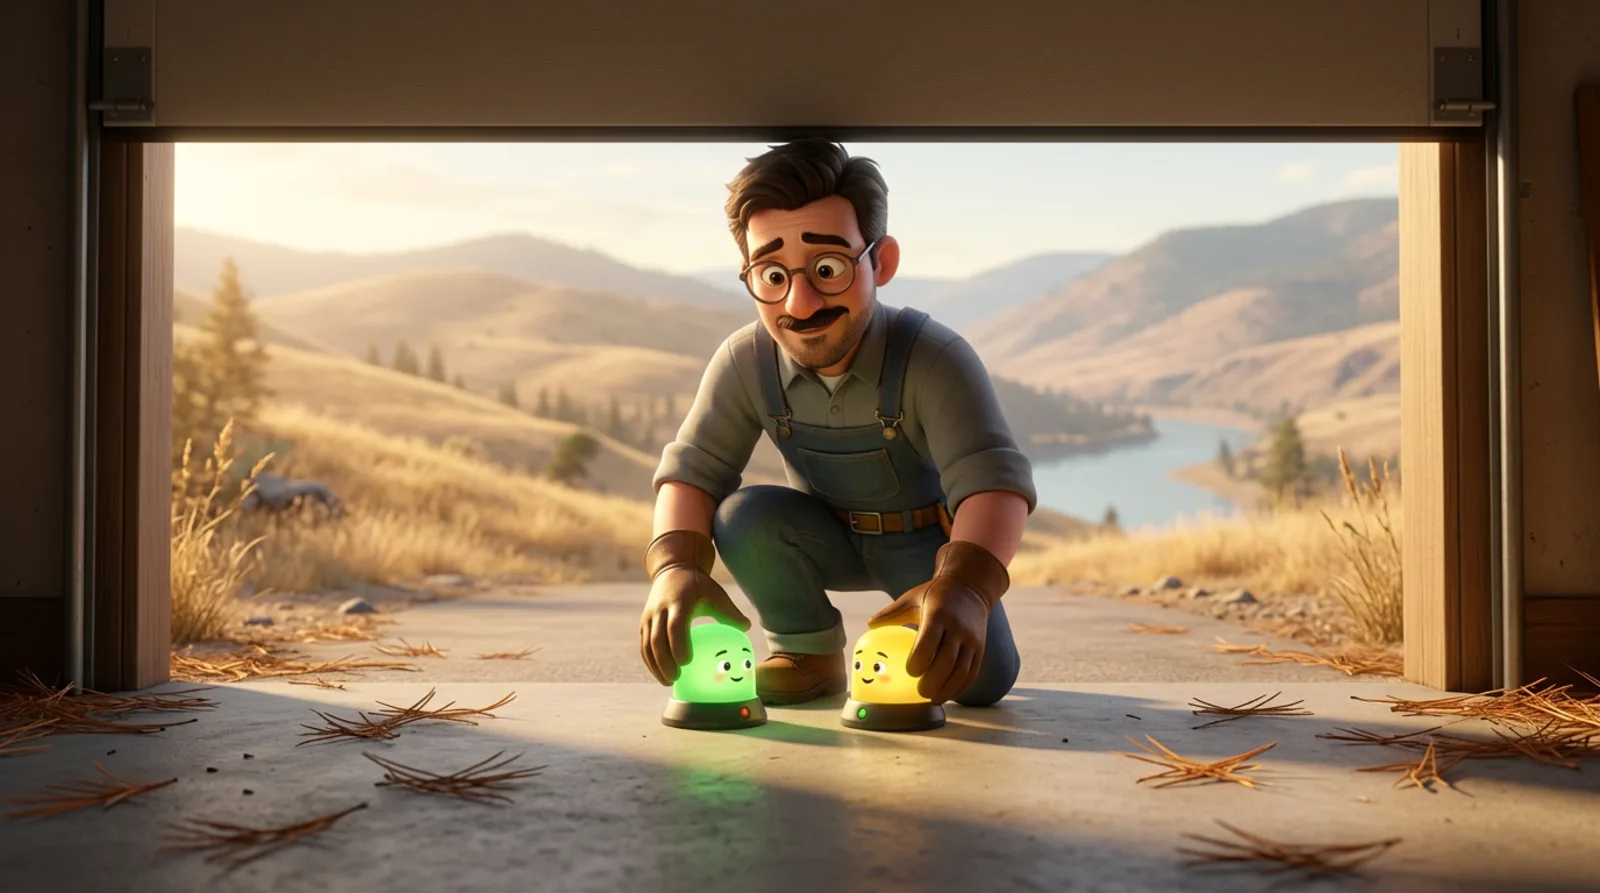
The two small boxes near the bottom of your garage door tracks are safety sensors. One sends an invisible beam and the other receives it. On most LiftMaster and Chamberlain openers, the sending sensor shows a steady amber or yellow light and the receiving sensor shows a steady green light when everything is working. If the green light is off, dim, or blinking, the sensors cannot see each other, usually because they are out of line, dirty, blocked, or hit by direct sunlight, and the door will refuse to close or will reverse. Clean the lenses, clear the path, and realign the receiving sensor until its light is steady.
Sensor problems are among the most common reasons a garage door will not close, and the good news is that they are usually a five-minute fix.
What the lights mean
| Light | What it usually means | What to do |
|---|---|---|
| Sending sensor steady amber or yellow | Sensor has power | Nothing |
| Receiving sensor steady green | Beam is received; sensors aligned | Nothing |
| Receiving sensor off or dim | Beam blocked or sensors out of line | Clear the path, clean, realign |
| Receiving sensor flickering or blinking | Partly aligned, dirty lens, sunlight, or loose wire | Clean, shade, realign, check wiring |
| Both sensors off | No power to the sensors | Check wiring and connections at the opener |
| Opener light flashes about 10 times | Opener detected a sensor problem | Check sensors |
Genie and some other brands use a different colour scheme, often a green power light and a red light that glows steady when the sensors are aligned. Check the label on your sensors or the opener manual if your colours differ.
Step 1: Clear the path
Anything in the beam stops the door: a bin, a bike, a bag of salt, a broom, even a spider web or snow piled against the track. Walk the line between the two sensors and clear it, then try closing the door again.
Step 2: Clean the lenses
Dust, pollen, cobwebs, and road grime build up on the small lenses. Wipe both with a soft, dry cloth. Avoid harsh cleaners, which can cloud the plastic.
Step 3: Realign the sensors
Sensors get knocked out of line by bikes, kids, shovels, and vibration.
- Check that both sensors are at the same height, usually about 10 to 15 centimetres above the floor, and pointing straight at each other.
- Loosen the wing nut or screw on the receiving sensor (the one with the green light).
- Turn it slowly until the light glows steady, not flickering.
- Tighten it carefully without moving it.
- Close the door to test.
A piece of string pulled tight between the two sensors is a handy guide to get them level and lined up.
Step 4: Check for sunlight
If the door refuses to close only at certain times of day, low sun may be shining straight into the receiving sensor. Shade it with a small cover, or swap the two sensors so the receiver is on the side away from the sun.
Step 5: Check the wiring
If the lights are off or flicker when you touch the wires, look along the thin wires running from each sensor up to the opener. Staples driven through the wire, chewed insulation, or loose connections at the opener terminals all cause sensor faults. Wiring repairs are straightforward for a technician, especially when wires run behind trim.
Why the sensors matter
The safety sensors are the reason a modern garage door will not close on a child, a pet, or the back of a car. Older openers without them relied only on the door’s force setting, which could still apply a lot of pressure before reversing. That is why sensors are standard on every current opener and why bypassing them is a bad idea, even when they are being temperamental.
Holding the wall button down will usually force a door with a sensor fault to close, which is fine as a one-off to secure the garage. It should never become the routine.
Test your sensors once a month
A quick monthly test confirms the sensors are doing their job:
- Open the door fully.
- Place a roll of paper towels or a small box on the floor in the door’s path, in line with the sensors.
- Close the door with the remote or wall button.
- The door should stop and reverse before it touches the object, or refuse to close at all.
- Remove the object and close the door normally.
If the door touches or presses on the object, stop using the opener until the sensors and the force settings have been checked. It is also worth testing the force reversal itself: a door that closes onto a small block of wood laid flat should reverse when it makes contact.
Sensor trouble in Chase
In Chase and along the South Thompson, a few local conditions make sensor problems more common. Dry summers fill garages with dust and pine needles that settle on the lenses. Low winter sun across the valley can blind a receiving sensor in the late afternoon. And snow pushed into the garage by a car or shovel easily blocks a sensor sitting just above the floor.
If the sensors are clean, aligned, and still not working, or the wiring is damaged, garage door repair in Chase covers sensor replacement and rewiring, and a maintenance visit includes a sensor test as part of the 12-point check. Our guide on why openers struggle in summer heat covers heat-related issues.
Get it closing again
Still blinking after cleaning and realigning? , call (778) 910-3106, or . A technician will test the sensors, wiring, and opener, and get the door closing safely again.
Frequently Asked Questions
What do the lights on garage door sensors mean?
Most openers have two sensors near the floor. On LiftMaster and Chamberlain, the sending sensor shows a steady amber or yellow light when it has power, and the receiving sensor shows a steady green light when it can see the beam. A green light that is off, dim, or flickering means the sensors are blocked or out of line.
Why is my garage door sensor light blinking?
A blinking or flickering sensor light usually means the sensors cannot see each other clearly: they are misaligned, the lens is dirty, something is in the beam, or direct sunlight is hitting the receiving sensor. A wiring problem can also cause flickering.
Why does my garage door opener light flash when the door won't close?
On many LiftMaster and Chamberlain openers, the light on the motor unit flashes about 10 times when the door reverses because of a sensor problem. That is the opener telling you to check the safety sensors' alignment, lenses, and wiring.
How do I realign garage door sensors?
Loosen the wing nut or screw holding the receiving sensor, gently turn it until its light glows steady, then tighten it again without moving it. Make sure both sensors are at the same height and pointing straight at each other. Test by closing the door.
Can sunlight affect garage door sensors?
Yes. Strong, low sun shining straight into the receiving sensor can overwhelm it, so the door refuses to close at certain times of day. Shading the sensor, or swapping the sending and receiving sensors so the receiver faces away from the sun, usually fixes it.
Is it safe to bypass garage door safety sensors?
No. The sensors stop the door from closing on a person, child, pet, or vehicle, and they are a required safety feature. Holding the wall button down to force the door closed should only be a temporary measure while you get the sensors fixed.